7.02.2009

My Barista Job

While being an unpaid intern, it was necessary for me to look for a flexible, low-stress job while I’m living in New York. When I came out to interview, I spent a little bit of time at a local coffee shop getting a bite to eat and picking the barista’s brain about the town. I noticed that they were hiring, so I filled out a presumptuous application and told the manager that I’d be in touch…
Upon getting the internship position, I contacted the café, and was offered a position there (over email, strangely). Having a job lined up before I even moved to the city was an immense relief!

I was really excited to get my hands back on an espresso machine. Once you’ve been trained as intensely as we were by Christopher at Espresso Christoph, it’s often hard to go to another café and watch (or listen to) them make your drink. Being able to make myself a drink was something seriously missed…(for those not in that unique EC family, its fine for you to think I’m a little crazy right now – totally acceptable. For those who are, you understand…)

For starters, the atmosphere of the shop is truly lovely. It is on the second floor, so it has a nice little view of the main street. There are skylights, a couple couches, a variety of tables, and a few seats at the counter. Considering my bedroom here has one small window and a bed as my only seating option, the café is much appreciated by me.


Another nice part is that the coffee is self-serve, so no more asking “would you like room for cream??” Just give them the cup & let them figure it out…

(sorry, not a very exciting image)

Another perk, we only have 3 syrups and 2 sauces! I’m sure the original ECers can remember when we had, what…25 different flavors? more?? It definitely makes cleaning syrup pumps go much quicker. It also makes those ordering a gross flavored latte decide in under 10 seconds (especially since they aren't listed on the menus?).


Unfortunately, our only grinder is similar to the old EC decaf one – meaning, it is much slower, doses off center, and isn’t super consistent. Because of its slowness, the accepted practice here is to let it grind until the chamber is about ½ full and have the espresso sit until you need it…for example, when I opened today, the chamber was about ¼ full of last nights grinds that were intended to get me through the first hour or two of my shift. (Go ahead, ECers, you can cringe).


Our café is responsible for all of the coffee and alcoholic drinks for the restaurant, so I’ve slowly been learning how to bartend. It has been really nice because it allows me to learn without actually having to make drinks right in front of the customer. I’ve definitely had to consult the recipe book a couple of times to teach myself how to make a certain drink…but no complaints so far! Alcohol tends to bring in more tips than coffee, and apparently people in tourist towns tip well, so I’ve made between $15 and $20 during a 5 hour day shift. Not bad when you’re used to a dollar or $2 extra…


Alright…and now the moment of truth…please, ECers, grab a drink, a tissue, a cigarette, whatever you may need to get through this…


Yes, its true…we “proudly” serve Starbucks…
I was surprisingly able to drink it just fine the first few shifts I had. Now, however, I can barely stomach the smell when it is brewing. LUCKILY my manager is great and she had been working on getting a local roastery involved. As of a week or two ago, we serve Starbucks regular, Starbucks decaf, and one Green Mountain brew (local). From what I’ve heard word of mouth, he roasts flavored coffees, but instead of using flavorings or syrups, he will actually throw whole almonds or hazelnuts or cinnamon sticks into the mix. The one we served last week was “Snickerdoodle” (yep…); we also have a Cinnamon-Hazelnut on hand. I chose to brew the Sumatra for my last 2 shifts and it is definitely good. Its not Intelligentsia amazing, but it is much better than Starbucks and its fresh (not as flavorful as a Sumatra should be, but a good cup nonetheless).

Because we serve Starbucks, they insist that we have a certain brand & model espresso machine. Here she is, in all her (pitiful) glory…


Unfortunately, my coffee snob comes out in full force when I talk about this machine. At this café, we are taught to judge the temperature of the milk “according to the sound it makes” instead of thermometers or touch. However, the water pressure in the building is dependent on the kitchen and the dishwasher, so you can’t actually count on a consistent steam. I thankfully revert to my EC ways and rely on touch much more than sound. On top of that, we have one steam wand designated for milk & half and half, the other designated for soy and chai. (hmm…) Also, when i presented my technique with foam, no bubbles, thick but with a glossy sheen, I was told that "people in woodstock prefer bubbly foam."

As far as shots, they have one portafilter for a single shot, one for a double, and one for decaf (single shot only). This means, when you tamp a single shot, you aren’t on an even surface because it only has one spout. Also the tamper is entirely manual, no pressure sensitivity like I’m used to. And now, I have two options, you can choose which one is worse…

A) Our double shots pour at 8 SECONDS.

B) Our decaf espresso comes from PODS.
(I truly never though I would utter that word)

For those with some knowledge, I shot a detail of the “shot timer panel”…

KEY = ½ shot…full shot…2 ½ shots…2 full shots…manual flow (for “cleaning”)

I’m still working out how my morals relate to this concept. We also pour into little silver cups, so you can’t really tell the volume or crema. I miss my clear shot glasses…

To end on a positive note, my coworkers are pretty great. There are only 5 of us that work there and we are generally single-staffed = nice for tips, not great for relationships. We get a free meal after every shift (an amazing perk because the food is ridiculously good!) so I’ve had a little time to chat with each co-worker while I’m eating, but it’s not the quality bonding time I was used to at EC =) Here’s Frank, our lone male employee, super happy to be at work!


It feels good to be back in coffee again...

(as a disclaimer, I decided after writing this post to omit the name of the café…after all, they are currently my only form of income…)

oh, woodstock...

This is the scene at the building next to CPW last weekend. Just another day in Woodstock…

7.01.2009

Fawn Potash & Danielle Correia : Encaustics & Photography

(just to warn you, this post is kinda crazy with photos, but they all seemed necessary!)

Our Encaustics workshop was a small, intensive, 4-day class with an amazing group of people. Our teachers, Danielle Correia and Fawn Potash, are wonderful teachers and artists who have been involved in encaustics for years.

Until a few weeks ago, I had no idea what “encaustics” were. The process involves applying and painting with hot wax and pigments. Our workshop was “Encaustics & Photography,” so the majority of our pieces started with a base image. We began the weekend at the Center making cyanotypes, preparing digital negatives, printing straight images, and prepping panels to use as the basis for our encaustic projects. Here are Jill and Daly hand-coloring some photos to use as the background for a panel:


And our cyanotypes! It was great because we were able to spend time working outside. The process involves coated paper (prepped by the interns), a negative, UV light, and water (and peroxide, if you want to bump up the contrast of the print).


We also went over toning of cyanotypes. An original produces a range of blue tones, but Fawn taught us how you can use chemicals and varying orders to turn them to red, purple, brown, etc…


On Monday and Tuesday we met at R&F’s building in Kingston, NY.
We spent the majority of those days in this room:


Having a small class was nice because it gave us all enough room to spread out. Jill and John, however, chose to share a table together. They came to this CPW Workshop as a gift to themselves, celebrating their 35th wedding anniversary. They were an amazingly adorable team the entire time – they printed together, prepped together, and encaustic-ed (hmm…that’s probably not a word) together. For each panel, John would coat, Jill would work on it, John would give his input & work a little, and then she would refine. Everyone loved seeing their constant encouragement and cooperation.


Against a separate wall was the coating station. Each panel begins with a few coats of wax fused with heat guns. This helps protect the image from deteriorating once you start painting and carving into it.


I loved how the simple process of applying wax and fusing it to get a smooth surface looked on a straight photograph. The smaller your panel, the easier it is to get a smooth surface. I used these two 5 x 7 inch photographs to try that technique. I was really surprised at how different an image can look with just a few layers of wax:


Danielle was the representative from R&F that coordinated the demonstrations at their studio. Here she is teaching them the basics of applying and fusing layers.


She demonstrated a ridiculous number of techniques and tools, basically showing how almost anything is possible to experiment with. This shot is just a handful of tools that I found on Danielle’s workstation.


And here, she is demonstrating how to dip an image:


I really loved how the dipped paper looked, too – it takes on this translucent quality and makes the paper stiff enough to work with, but still fragile enough to maintain the quality of paper without being attached to a board. When it comes to encaustics, apparently I’m a bit of a purist. I did one copy of each image in a recent project...i hope to go back and stitch into them:


Being a workshop, we were all encouraged to at least try every technique we learned about. Another technique is combining pigment sticks with encaustics. These oil-based pigment sticks give a much bolder look and let you paint directly on the surface – kind of like a big crayon. Here are just a sampling of the colors they had available:


I tried it in two different applications. First, by carving into a wax coated panel while painting with encaustic:


…and on a dipped paper, which is obviously much more delicate. I’m not saying it’s a work of art, but this is how that one turned out:


I was really impressed with how well Daly incorporated both aspects into her panels – and her workstation definitely proved it:


Nikki, on the other hand, got really into using photos as a base and using the encaustics as a straight painting method.


At the end of the last day we spent some time going around the room and seeing how everyone’s tests turned out. I was shocked at how good everything turned out! Here is Daniella, my table partner and an R&F instructor in California, showing the class and instructors all of her experimentation:


Laula created one of my favorite pieces from the weekend. She kept it very simple, just using the pigments sticks with encaustic to draw over an original photograph:


It was a great 4 days – everyone was really excited to learn and play around with all the new material. We really couldn’t have asked for a better group to take this workshop. It was really cool to learn it myself, too. Encaustic is not a very well known form of art, but it is growing in popularity and recognition. The natural materials and process made it even more interesting to my tastes. And now that I have had time to try the methods on my own, I have even more respect for those who practice it professionally!

(The two happy interns for the workshop, Nikki Tappa and myself)

6.15.2009

Barbara Ellison : Getting the Best Results from the Canon Digital SLR

Last weekend’s workshop was a technical OVERLOAD - in the best way possible! Our teacher for the weekend was Barbara Ellison, a long time Canon rep from Virginia. She has photographed for huge events such as the Kentucky Derby, the US Tennis Open, the Olympics, and Clinton inauguration. This woman has a extraordinary wealth of technical knowledge.

Our class this weekend was wonderful. We had 6 students, a Canon Powershot rep, and a CPW Arts Administration intern taking the class (along with Kelsea and myself assisting Barbara). The two other CPW interns were in another workshop with Linda Connor, an honored educator and photographer from San Fransisco. From the minute the students stepped in the door they were excited to be there and ready to learn. Their experience levels ranged from zero SLR to zero digital so we began with the basics. Barbara asked us to change our mindset about the limitless quality of digital images. Instead, she suggested that we imagine we are shooting film and that each click of the shutter is costing us anywhere from 25 cents to a few dollars. The idea is that we will shoot more intentionally and compose more purposeful shots if we don’t have the choice to delete a “bad one.”

The majority of the morning was spent going over controls, dials, and buttons all over the cameras.


A little bit of oogling over and experimenting with lots and lots of nice equipment...


We then moved on to the local flea market to put our recently acquired skills into practice. Jess, one of the CPW Arts Administration interns (which basically means dealing with shows and the gallery), found a table full of old matchbox cars.


The next day was spent learning about lenses and flashes…and how to handle both in different situations. We then went out with borrowed lenses and flashes to the Village Green, the center of Woodstock, to photograph and learn more in an environment. Here are a few more images of people in practice and learning from Barbara.


I’m convinced that Ashly couldn’t help but lay down for the majority of her shots – every time I turned around she was rolling in the leaves and dirt again! All of the students left seemingly a bit mentally overwhelmed, but very excited and ready to go out and photograph using all of the techniques they learned over the weekend workshop.

6.09.2009

Platon : The Art & Craft of Portraiture

Our first workshop of the season was with Platon. Bright and early Saturday morning, he glided in the door with his witty, charming British personality, two assistants and three interns in tow. A little background on Platon:
- he has photographed an astounding number of famous personalities, many of which can be seen in his book “Platon’s Republic.”- he is one of the few people to have taken a portrait of Vladimir Putin; this photo awarded him the 2008 World Press Photo Contests’s 1st place.
- he shoots for a range of publications including The New York Times Magazine, Time, Esquire, and Rolling Stone.
- he shot this recent portrait of Michelle Obama for the cover of Time.

Looking past this wealth of experience and fame, he was also a really great teacher. The entire weekend revolved around portraiture and the experience between subject and photographer. The class consisted of an incredibly broad range of skill level and experience; one man had been out of photography for quite some time and was ready to jump back in to portraits, another traveled all the way from Puerto Rico just to work with Platon, a few were college students. We began with some exercises that forced us out of our comfort zone and into each other’s personal space. Luckily, it was a great group; everyone was excited to learn and willing to try just about anything (and after the giggles subsided, we learned to be more comfortable with our subjects). This is an image from one of the exercises where our partner had to talk about the most honest, emotional event that has happened in our lives while the photographer had to follow the random aperture orders Platon was yelling out. Paul told me about the happiest and saddest moments:


Another exercise was blind contour line drawings. While this seemed expected from an art student perspective, many of the other students had never done one. The results surprised many of them. Here are the ones Carol did of me:


The rest of the afternoon was spent doing intensive portfolio reviews for 19 people (15 class members and the 4 CPW interns).


The next day we learned about the workflow of Platon and his team as well as their lighting setup. Having never been taught anything about studio lighting, this part was informative with little tips and tricks…one thing Platon mentioned was that he was telling us these things in hopes that we can learn from the mistakes he has made instead of having to make them ourselves. He then gave us a demonstration of how he photographs his subjects.


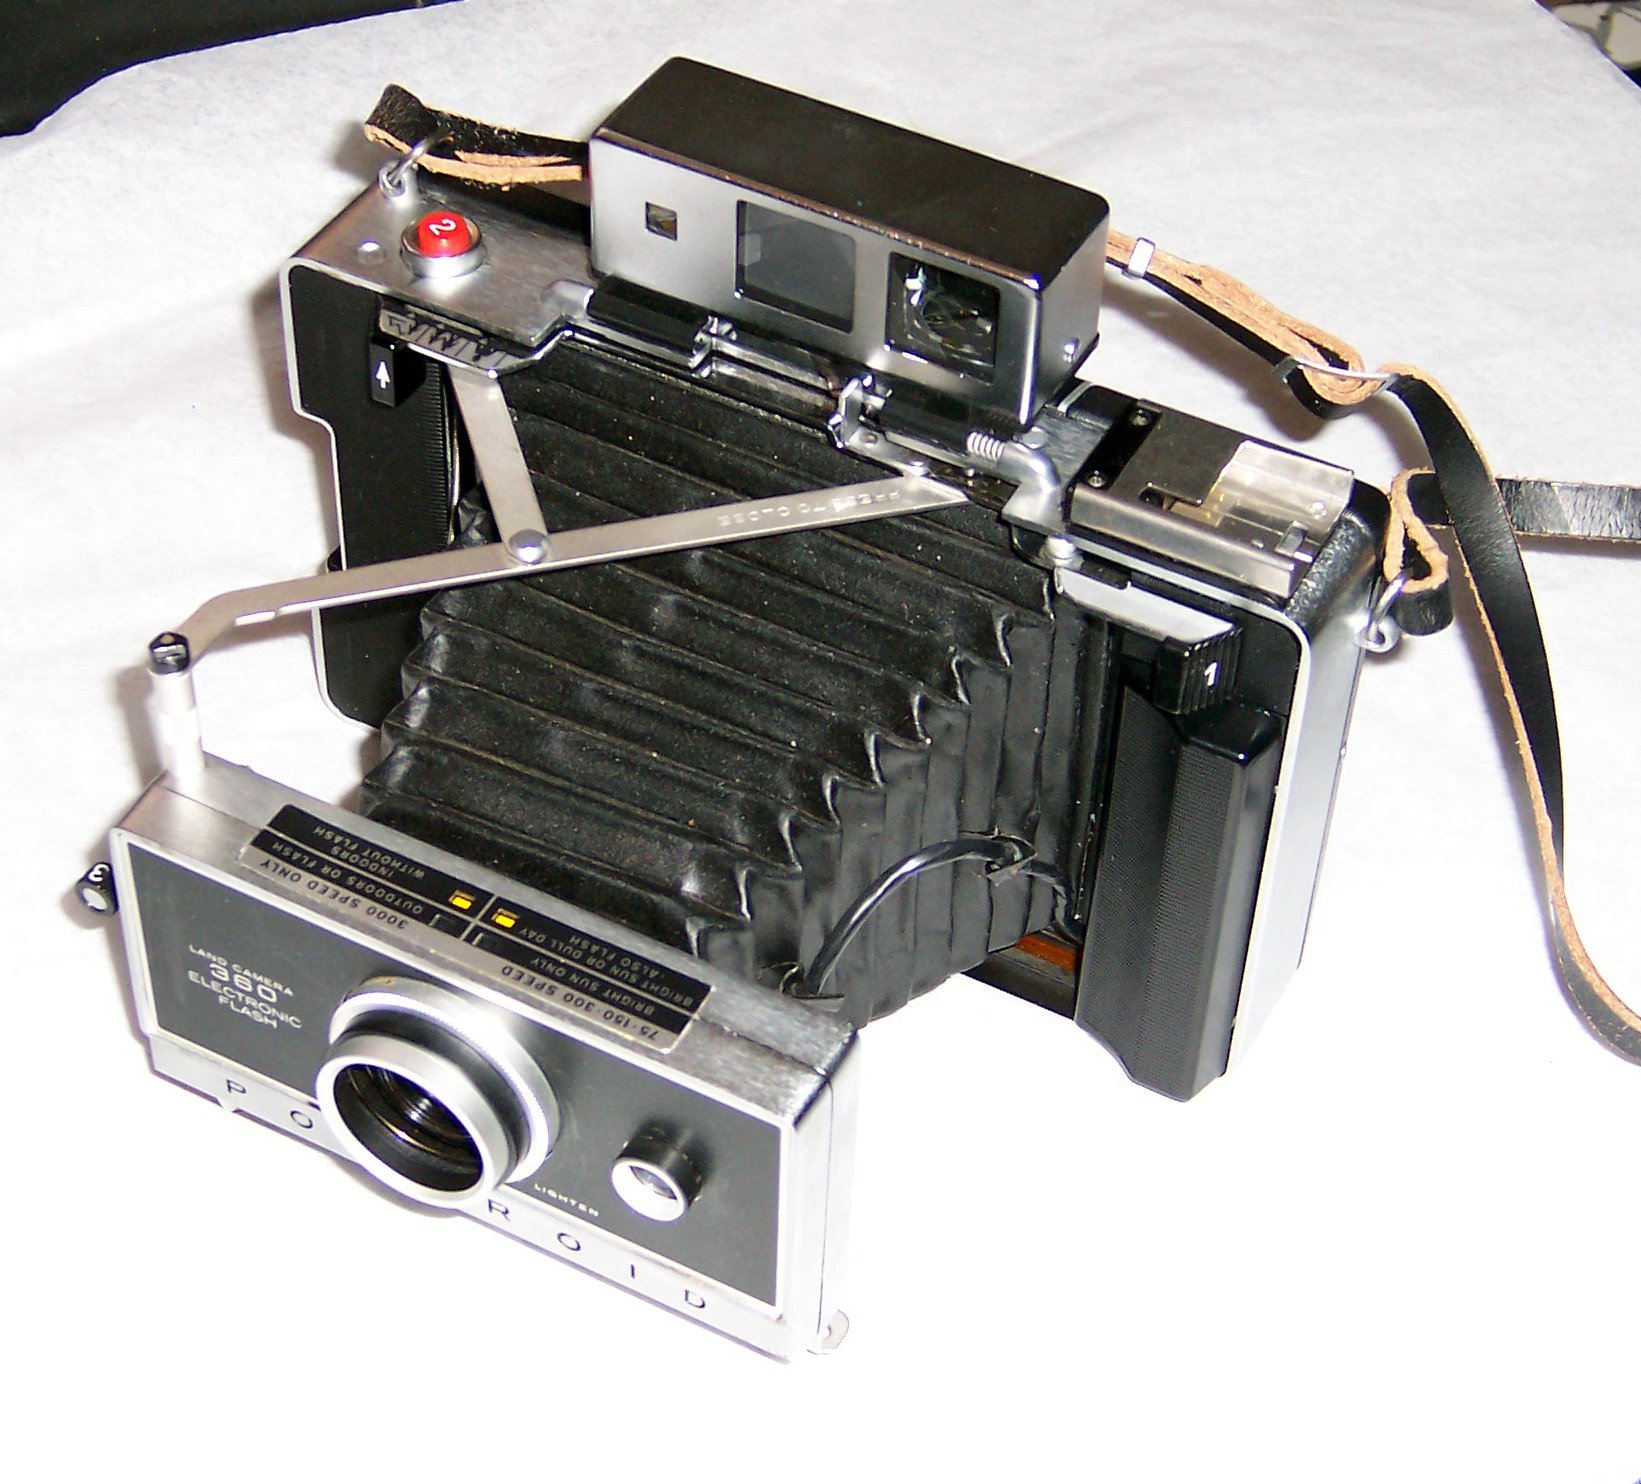
After the technical tips, we were all given a chance to pose and shoot. To make things worse, we all had to photograph with a land camera. Because few of us had used one before, it gave us the added challenge of thinking about how to use a new camera along with the techniques Platon had taught about making your model feel comfortable. I can easily say that the majority of us were nervous to perform in front of the entire class. It was much more difficult than it looked…Platon, however, was fantastic at making you feel at ease with the challenge.


We each shot 4 images. One of Platon’s interns, Michael, chose to shoot me, so in return I decided to shoot him. Unfortunately, I didn’t put together that it wasn’t full frame viewfinder, so Michael got decapitated in the first three images. The last pose was my favorite and I think it came out best…

We ended the weekend by choosing our favorite images and taking them outside. We then passed them to the person next to us and they ripped it into 4 pieces. After taping it back together we were told to remember that when we get torn apart, we can always put ourselves back together again (awwww…..)

6.02.2009

lilith

I was in the process of converting my computer from "this is for school" to "I really graduated" when i realized that I never posted my advanced digital final project. So, here it is...many thanks to my friend, Erin, for posing for me...